How to Clean Patio Furniture Covers: Expert Advice for Homeowners
This post may contain affiliate links or Google Ads and we may earn a small commission when you click on the links at no additional cost to you. As an Amazon Affiliate, we earn from qualifying purchases. This is at no additional cost to you and helps with our website expenses.
If you’re wondering how to clean patio furniture covers, you’ve come to the right place. Not only does it keep your outdoor living area looking fresh, but it also extends the life of your furniture covers.
After all, we all want our beloved patio sets to shine brightly under the summer sun, don’t we? So, let’s dive into the nitty-gritty of keeping your covers squeaky clean.
What You’ll Need: Your Cleaning Arsenal
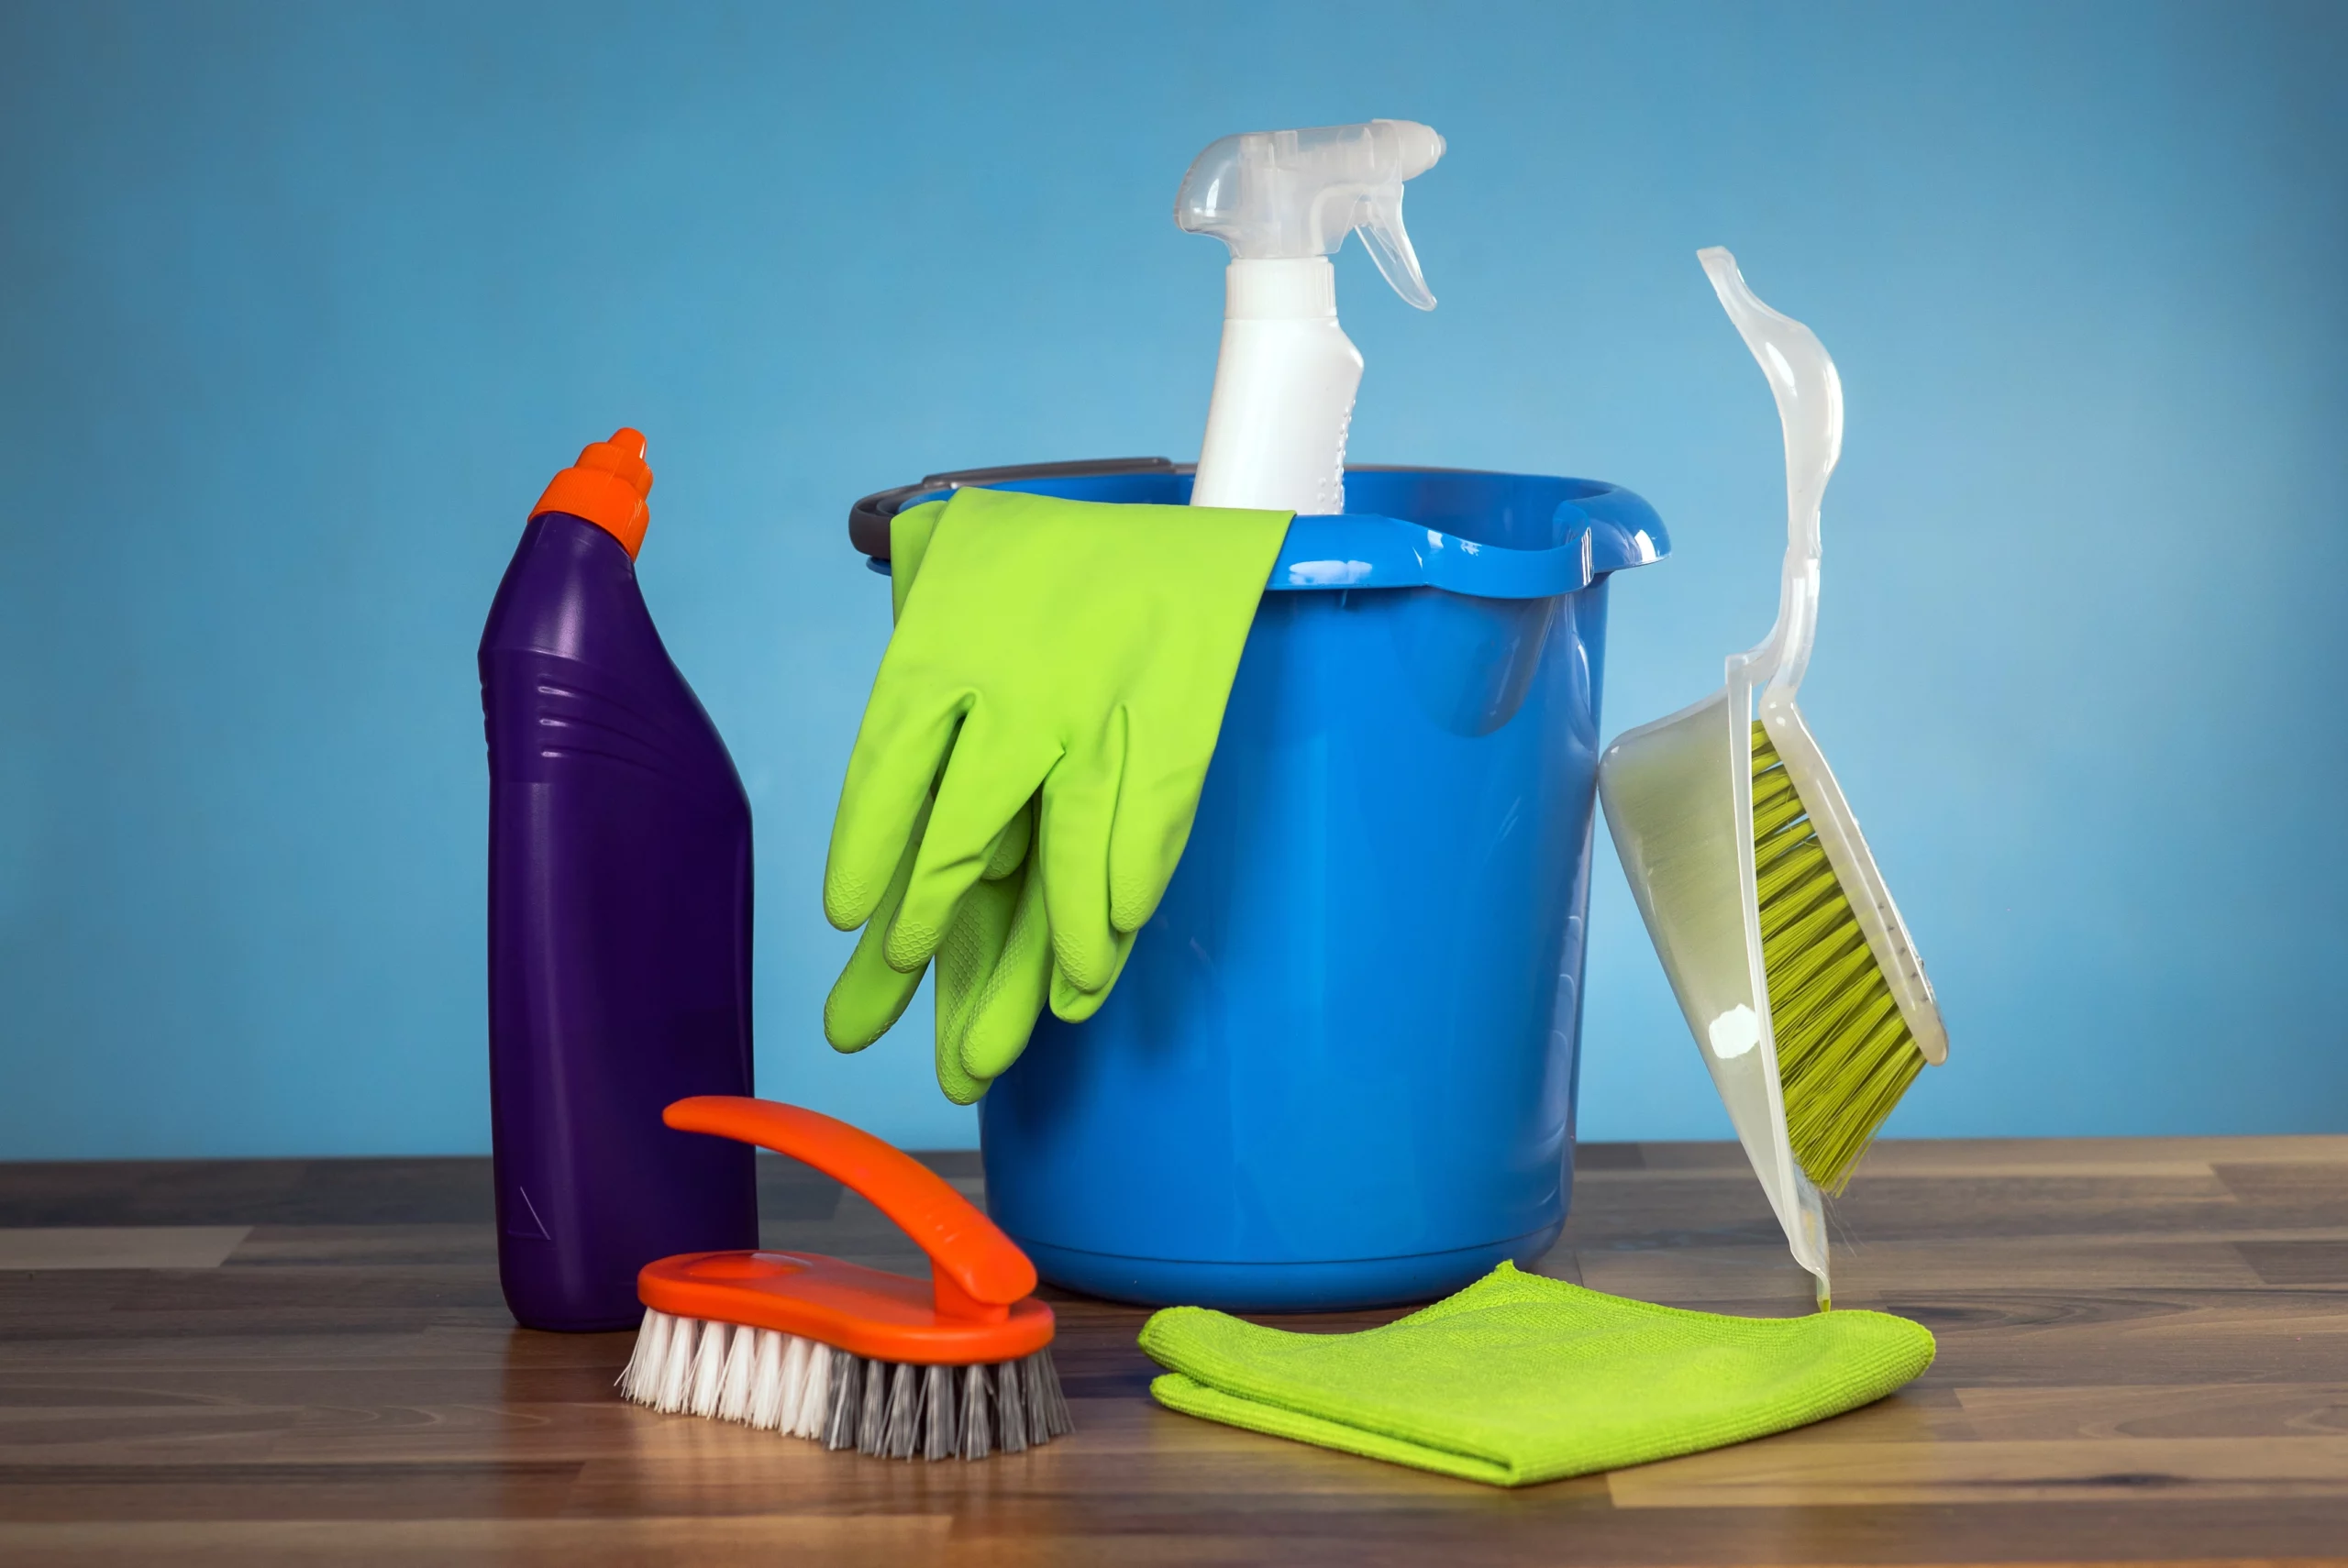
Cleaning patio furniture covers isn’t a herculean task, especially when you have the right tools at your disposal. Here’s what you need to arm yourself with:
- A Bucket: You need something to mix your cleaning solution in, right? Any old bucket will do the trick.
- A Soft Scrub Brush: This is crucial to scrub off the stubborn grime without damaging the fabric.
- A Gentle Detergent: A mild detergent will get the job done without being too harsh on your covers.
- A Garden Hose: For a good rinse post-scrubbing.
Having these tools on hand will make the cleaning process a breeze. But before you start, do you know what your covers are made of? Different materials need different cleaning approaches.
But don’t worry, we’re going to cover that too. Stick around!
Understanding Your Covers: Types of Patio Furniture Cover Materials
Before you get to scrubbing, it’s important to know what you’re working with. Patio furniture covers come in a variety of materials, each with its own cleaning quirks. Here are the three most common types:
- Polyester Covers: These are loved for their durability and resistance to fading. A mild detergent is usually all it takes to clean them up.
- Vinyl Covers: Robust and waterproof, vinyl covers can handle a stronger cleaning solution, but remember to rinse thoroughly to avoid a sticky residue.
- Canvas Covers: Usually treated to resist mildew, canvas covers can handle a scrub but may need a specific cleaner to stay mildew-resistant.
Now that you know your covers better, let’s move on to the cleaning part, shall we?
Cleaning 101: General Cleaning Instructions for How to Clean Patio Furniture Covers
So, how to clean patio furniture covers? Here’s a simple, step-by-step guide that should work for most cover types:
- Preparation: Start the process by spreading out the patio furniture cover on a flat surface. This allows you to fully inspect the cover and makes cleaning easier.
- Remove Loose Debris: Begin by shaking off the debris from both sides of the cover. Using a soft-bristle brush, gently sweep away any stubborn dirt or leaves that didn’t come off with the shake. Don’t forget to check corners and seams as they often harbor hidden dirt.
- Inspect the Cover: Once the loose debris is off, take some time to inspect the cover. Look for particularly grimy areas, any damage, or stubborn stains that might require extra attention.
- Prepare Your Cleaning Solution: In a large bucket, mix warm water with a mild detergent. It should be enough to make the water sudsy but not excessively soapy. The right balance ensures effective cleaning without potentially damaging the cover material.
- Start with a Gentle Scrub: Dip a soft scrub brush into the cleaning solution and start gently scrubbing the cover. Begin with the dirtier side, focusing on the grimier spots and stains you identified during the inspection.
- Cleaning Around the Seams: The seams can trap dirt and soapy water, so pay extra attention to these areas. Use the brush to gently scrub along the seams, making sure to dislodge any trapped debris.
- Flip and Repeat: Once you’ve cleaned one side, flip the cover and repeat the process. Remember, cleaning both sides of the cover is crucial for thorough maintenance.
- Rinse and Inspect: Rinse off the soap from the cover using a garden hose. Ensure you rinse thoroughly, especially around the seams where soap can get trapped. After rinsing, inspect the cover again. If you see any remaining stains, give them another scrub and rinse.
- Dry the Cover: The final step is drying the cover entirely before putting it back on the furniture. You can hang it in a well-ventilated area or lay it out in the sun. Make sure the cover, including the seams, is completely dry to prevent the growth of mold or mildew.
And voila! Your patio furniture covers should be as good as new. But remember, different materials might require some specific cleaning tips.
Battling the Fungi: Removing Mold and Mildew from Patio Furniture Covers
Sometimes, despite our best efforts, mold and mildew can still find a way onto our beloved patio furniture covers. But don’t despair – these unwelcome guests can be effectively evicted with a few additional steps:
- Spot the Problem: Begin by inspecting your covers for any signs of mold or mildew. These will often appear as small black, green, or white spots or streaks. They’re most likely to show up in damp areas, especially along seams and creases where water can pool.
- Safety First: Before you start the cleaning process, make sure to protect yourself. Mold and mildew can cause allergic reactions, so it’s advisable to wear gloves, a mask, and eye protection while cleaning.
- Mix Your Mold-Busting Solution: In a bucket, mix one cup of bleach with a gallon of warm water. The bleach is a powerful mold-killer, but it can also damage certain materials, so be sure to test a small, inconspicuous area first.
- Apply the Solution: Dip a soft scrub brush into the solution and gently scrub the moldy areas. Be careful not to scrub too hard, as you could damage the material.
- Let It Sit: Allow the solution to sit on the affected areas for about 10-15 minutes. This gives the bleach time to kill off the mold and mildew.
- Rinse Thoroughly: Use a garden hose to rinse off the solution completely. Be sure to get all the bleach off, as any residue could potentially harm the cover material.
- Dry Completely: Just like in our general cleaning instructions, it’s crucial to let the cover dry completely before you put it back on the furniture. Any remaining dampness could allow mold and mildew to make a quick comeback.
Remember, prevention is the best cure. By regularly cleaning your covers and ensuring they’re fully dry before storage, you can keep mold and mildew at bay and your patio furniture covers in pristine condition.
Special Care: Tips for Specific Materials
Each material might need a little extra TLC. Here are some additional tips for those common patio furniture cover materials:
- Polyester Covers: Remember to rinse these thoroughly as any residual detergent can attract more dirt.
- Vinyl Covers: When rinsing, pay extra attention to the seams and folds. Water can sneak in and leave a residue that could cause the cover to stick to the furniture.
- Canvas Covers: For mildew-resistant canvas covers, consider using a cleaner specifically designed for this material to maintain its mildew-resistant properties.
By giving your covers this special care, they’ll look great and last longer.
Prevention is Better than Cure: Keeping Your Patio Furniture Covers Clean

One thing is certain: regular maintenance is key. Here are some preventative measures to keep your covers clean:
- Clean Regularly: Don’t wait for the dirt to build up. Regular cleaning helps to prevent stubborn stains and wear.
- Store in Off-Season: If you’re not using your patio furniture for an extended period, consider storing the covers. This can protect them from the elements and unnecessary dirt.
- Spot Clean: If you notice a spill or stain, clean it as soon as possible. This helps prevent the stain from setting and becoming a permanent fixture on your cover.
By following these tips, you’ll keep your patio furniture covers looking their best for longer.
Wrapping Up: The Importance of Cleaning Patio Furniture Covers
And there you have it! Now you know how to clean patio furniture covers. Not only will this keep your patio looking fresh, but it also ensures your covers last longer, giving you more bang for your buck.
So, roll up your sleeves and give those covers some love. They protect your furniture year-round, so they deserve a bit of pampering.


