Cleaning Storm Windows: Step-by-Step Guide to Sparkling Glass
This post may contain affiliate links or Google Ads and we may earn a small commission when you click on the links at no additional cost to you. As an Amazon Affiliate, we earn from qualifying purchases. This is at no additional cost to you and helps with our website expenses.
Cleaning storm windows is an important chore often overlooked by many homeowners.
Your storm windows work tirelessly, shielding your home from the harsh onslaught of the weather, collecting grime, dirt, and the occasional bird droppings in the process.
Over time, this accumulation not only mars the appearance of your windows but can also compromise the amount of natural light filtering into your home, not to mention shortening the life expectancy of your windows.
So, what’s the best way to deal with this?
The answer? A little bit of DIY magic. You don’t need a professional service or an extravagant budget to keep your storm windows sparkling clean.
With the right information, some household supplies, and a splash of effort, you can have your storm windows looking as good as new.
Cleaning Storm Windows: First the Basics

Storm windows, as their name suggests, are extra windows installed outside or inside of the main glass windows of a home. Why?
Their purpose is twofold: to protect your house from the weather (you guessed it, storms included!) and to provide an extra layer of insulation.
But, like all good things in life, they come in a variety of styles and materials.
Types of Storm Windows
Storm windows can be categorized based on their installation method and the materials they are made from. So, let’s break it down:
Interior vs Exterior Storm Windows:
- Interior Storm Windows: As you can probably guess, these are installed on the inside of your existing windows. They are usually easier to install and remove, which makes them a favorite among DIY enthusiasts. Plus, they’re a great option if the exterior of your home is subject to severe weather conditions.
- Exterior Storm Windows: These are installed on the outside of your existing windows. They are more durable and offer better insulation, but they can be trickier to install and clean, especially if they are high up or in hard-to-reach places.
I remember my Mom, literally hanging out our two story windows, cleaning the storm windows! She sat on the windowsill and cleaned them with what seemed like no regard for her safety. Eek!
Materials:
Here’s a quick rundown of the common materials you’ll encounter in storm windows:
- Aluminum: Lightweight and durable, aluminum storm windows are a popular choice. However, they can be prone to condensation.
- Vinyl: Vinyl is another common material. It’s affordable, but it might not be as durable as other materials.
- Wood: Wood offers excellent insulation and a classic aesthetic. However, it requires more maintenance to prevent rot and other damage.
Understanding the basics of storm windows is the first step towards mastering their maintenance. Now that you’re familiar with the different types, you’re one step closer to cleaning them like a pro.
Why Cleaning Storm Windows?
Clean windows, clean view—sounds simple, right? However, the importance of maintaining clean storm windows goes beyond aesthetics. Let’s unravel the reasons behind this household chore:
Visibility and Natural Light
First off, who doesn’t enjoy a clear, unobstructed view of the outdoors? Dirt and grime on your windows can cloud your view and make your living space feel smaller and darker.
Clean storm windows let in more natural light, brightening up your home and lifting your mood.
Plus, spotting that early morning cardinal or admiring your blooming roses is a joy not to be marred by dirty windows!
Window Longevity
Keeping your storm windows clean also enhances their longevity. Dirt, dust, and other debris can cause scratches and wear down the materials over time.
In severe cases, the accumulation of grime can even lead to window damage, especially for wooden windows that are susceptible to rot. Regular cleaning can help prevent these issues and ensure your windows last as long as possible.
Energy Efficiency

Clean storm windows also play a part in your home’s energy efficiency. Over time, dirt and dust can reduce the insulating properties of your windows, leading to more heat loss in winter and heat gain in summer.
By keeping your windows clean, you can ensure they perform at their best, saving you some bucks on energy bills.
So, maintaining clean storm windows isn’t just about appearances. It’s about maximizing natural light, preserving your windows, and optimizing energy efficiency.
Preparing for the Task of Cleaning Storm Windows
Before we dive into the cleaning process, it’s important to gather all the necessary tools and supplies. After all, preparation is half the battle won! Plus, let’s not forget safety precautions to ensure a smooth and risk-free cleaning operation.
Tools and Supplies
Here’s what you’ll need for your storm window cleaning mission:
Environmentally-Friendly Cleaning Tools:
- White Vinegar: A natural, non-toxic cleaner that’s perfect for breaking down dirt and grime.
- Baking Soda: Great for scrubbing off stubborn stains.
- Microfiber Cloths: They’re gentle on your windows and won’t leave scratches or streaks.
- Spray Bottle: For your homemade vinegar cleaning solution.
- Rubber Gloves: To protect your hands when cleaning.
Commercial Cleaning Tools:
- Window Cleaner: Choose a product specifically designed for windows for best results.
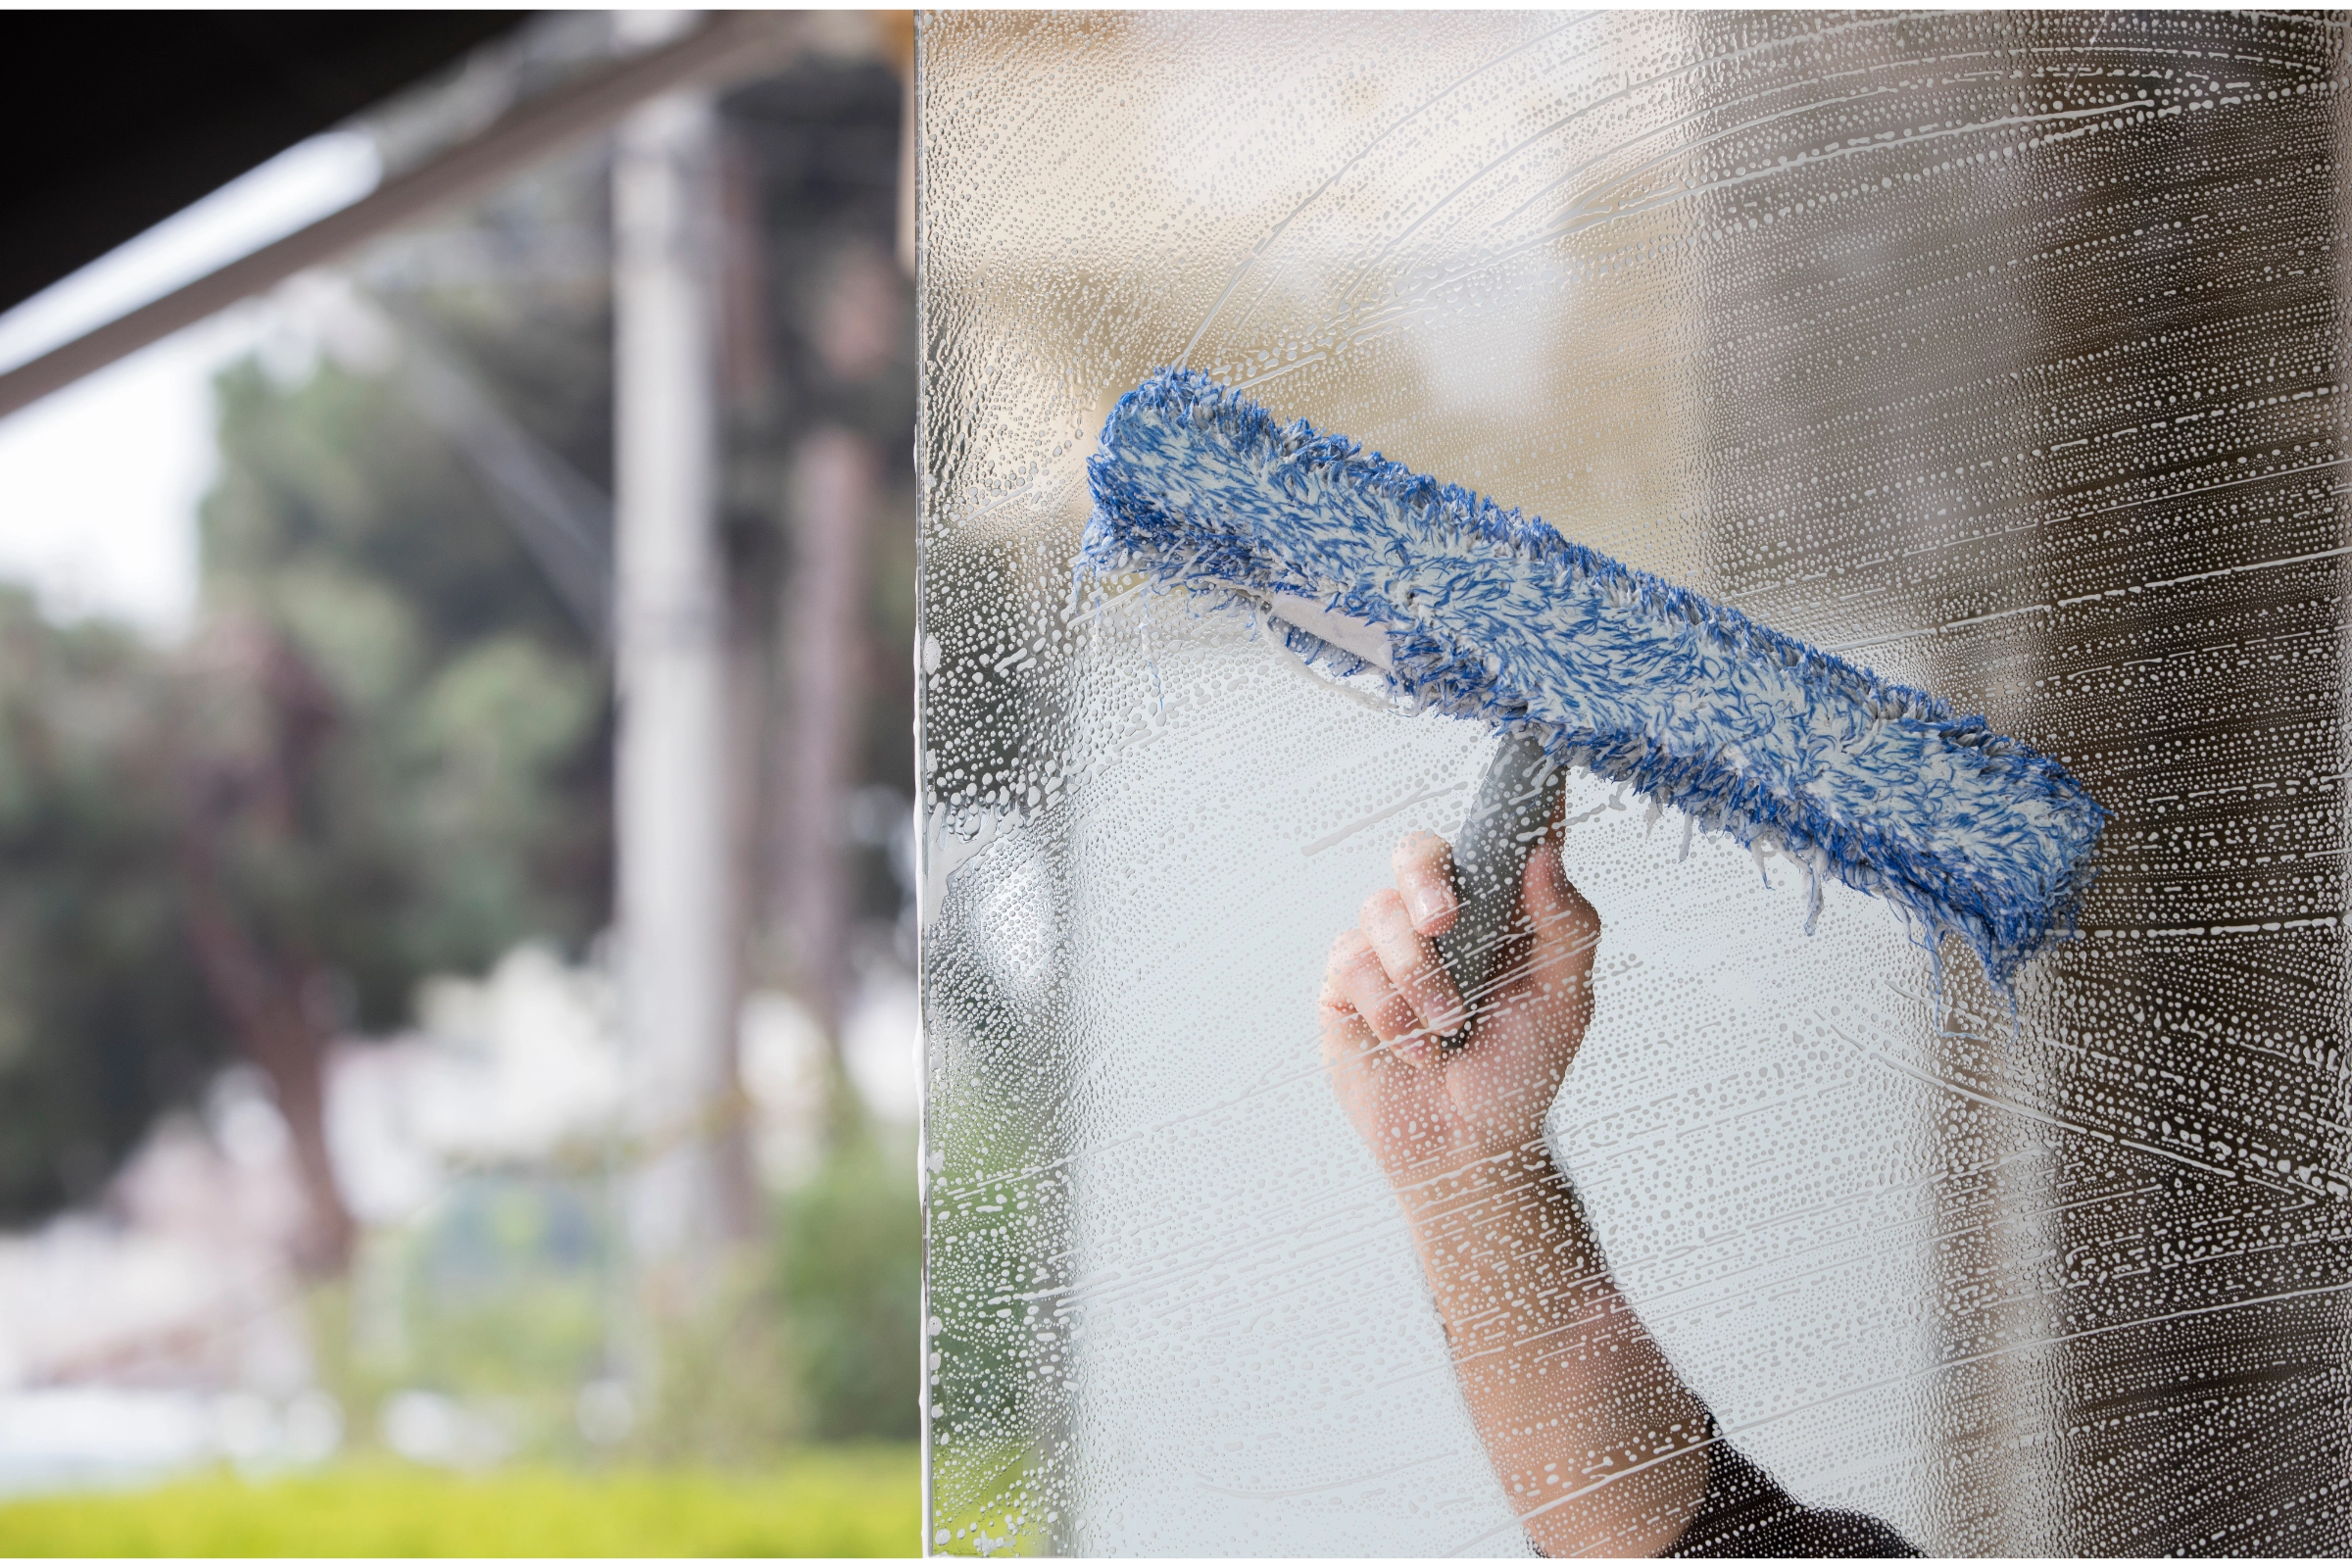
- Squeegee: For a streak-free finish.
- Cloths or Paper Towels: To wipe down the windows.
- Rubber Gloves: Again, to protect your hands while cleaning.
Don’t forget a sturdy ladder if your windows are high up, and always have a bucket of clean water nearby for rinsing your cloth or squeegee.
Check out our post about cleaning windows with newspaper!
Safety Precautions when Cleaning Storm Windows
Cleaning windows, especially exterior ones, can come with some risks. Here are some safety tips:
- Use a Stable Ladder: If you need to reach high windows, ensure your ladder is stable before climbing.
- Wear Non-Slip Shoes: This helps prevent slipping, especially if you’re working with water.
- Avoid Cleaning on Windy Days: Strong wind can destabilize your ladder or blow dust and debris into your eyes.
- Use Gloves: Protect your hands from harsh cleaning chemicals if you’re using commercial products.
Remember, safety first. With the right tools and precautions in place, you’re all set to start the cleaning process.
Basic Cleaning Storm Windows Tips
Before we get into the nitty-gritty of deep cleaning, let’s start with some simple, everyday maintenance tips. Keeping up with these can help prevent build-up, making your regular deep cleaning sessions easier. Trust me, your future self will thank you!
The Routine Quick Clean
Think of this as the daily dusting of your storm windows. Using a soft cloth, lightly wipe down the window surface to remove loose dirt and dust.
This helps prevent these particles from accumulating and hardening over time, which can make your deep cleaning sessions more labor-intensive.
Spot Cleaning Stains
Noticed a bird’s “gift” or some mud splatter on your window? Don’t wait for your next deep cleaning session. Use a damp cloth or sponge to clean it off as soon as possible.
For stubborn spots, a little bit of vinegar or a commercial window cleaner can come in handy. Remember, the longer a stain sits, the harder it gets to remove.
Proper Drying
Believe it or not, how you dry your windows can affect their cleanliness. After spot cleaning, always dry your windows with a clean, dry cloth or a squeegee. This helps prevent streaks and water spots, keeping your windows looking pristine longer.
Choosing the Right Cleaning Time
While it might be tempting to clean your windows on a bright, sunny day, it’s actually not the best time. Why? The heat can cause your cleaning solution to dry too quickly, leaving unsightly streaks.
Instead, aim for a cloudy day or clean your windows in the early morning or late evening when the sun isn’t as strong.
Keeping up with these basic cleaning tips can go a long way in maintaining the cleanliness and longevity of your storm windows.
Detailed Step-by-Step Guide to Cleaning Storm Windows
Now that we’ve covered the basics, it’s time for the main event: the deep clean. This thorough cleaning process will help get rid of stubborn dirt, grime, and stains, giving your storm windows the refresh they need.
Preparation
- Step 1: Remove the storm windows if possible. This makes them easier to clean, and you can reach every nook and cranny. Be careful during removal to avoid damaging the windows. If you can’t remove them, don’t worry, you can still clean them in place.
- Step 2: Lay down a tarp or drop cloth if you’re working inside to catch any drips and protect your floors.
The Process of Cleaning Storm Windows
Here’s where the magic happens. Let’s get those windows gleaming:
- Step 1: Dust off the loose dirt using a dry cloth or a soft brush. This helps prevent scratches when you start washing.
- Step 2: Start washing the windows using your chosen cleaner. If you’re going for the environmentally-friendly method, mix a solution of half water, half white vinegar in your spray bottle. If you’re using a commercial cleaner, follow the directions on the product. Always start from the top and work your way down to avoid dirty water dripping on clean areas.
- Step 3: For stubborn dirt and stains, apply a paste of baking soda and a little water (for the green cleaning method) or use a bit more window cleaner. Let it sit for a few minutes, then gently scrub with a cloth. Avoid using anything too abrasive, which can scratch your windows.
- Step 4: Rinse your windows thoroughly. You can use a hose for outdoor windows or a bucket of clean water and a sponge for indoor ones. Make sure all the cleaning solution is gone to avoid streaks and residue.
Drying and Reinstallation
- Step 1: Dry your windows using a clean, dry cloth or a squeegee. This step is crucial for a streak-free finish. Remember to wipe down the window frames as well to prevent water damage.
- Step 2: If you removed your storm windows, now’s the time to put them back. Make sure they’re completely dry before reinstalling.
And voila, you have clean, sparkling storm windows! By following this guide, you’ll be able to tackle even the dirtiest storm windows and restore them to their former glory.
Dealing with Hard-to-Reach Windows
Cleaning storm windows on a single-story house is one thing, but what about those second-story windows? Or perhaps you have windows positioned awkwardly high on your wall?
Don’t worry, we’ve got you covered. Let’s discuss some strategies for dealing with these hard-to-reach windows.
Extend Your Reach
Extendable squeegees or window cleaning tools can be your best friend when it comes to cleaning hard-to-reach windows. They can give you the extra reach you need without relying too heavily on a ladder.
Just ensure that the tool you choose is sturdy and well-made. A flimsy tool can make the task more challenging and potentially dangerous.
Safe Ladder Practices
If you need to use a ladder, remember to prioritize safety:
- Always ensure your ladder is on stable, even ground before climbing.
- Have a spotter if possible.
- Don’t overreach—climbing down and moving the ladder is better than taking a tumble.
- Never stand on the top two rungs of your ladder. If you can’t reach, your ladder is too short.
Consider Professional Help for Cleaning Storm Windows
If your windows are particularly high or hard to reach, it might be worth considering professional help. Window cleaning services have the right tools and training to clean high windows safely and effectively.
Remember, no amount of savings is worth risking a serious fall.
Cleaning hard-to-reach storm windows can be a challenge, but with the right tools and safety practices, it’s certainly achievable. Just remember to always prioritize your safety above everything else.
Handling Common Window Stains and Problems
Even with regular cleaning, some issues are likely to pop up. Here’s how to tackle some common window stains and problems that might stand between you and sparkling clean storm windows.
Hard Water Stains
Hard water can leave behind unsightly white or cloudy stains on your windows. For these, a vinegar solution can work wonders. Simply apply the vinegar to the stain, let it sit for a few minutes, and then scrub it off.
For particularly stubborn stains, you might need to repeat the process a few times.
Mold and Mildew
If your storm windows are wooden, they might be susceptible to mold and mildew, especially if they’re often exposed to moisture.
To clean this, mix a solution of one part bleach to four parts water, and apply it to the affected area. Scrub gently, then rinse thoroughly.
Bird Droppings
Bird droppings can be a major nuisance, especially during certain times of the year. To clean them, you can use your vinegar solution or window cleaner. Spray it on the droppings, let it sit for a few minutes to soften, then wipe it off.
Paint Splatters
If you’ve recently painted your house, you might have some paint splatters on your windows. For this, a razor blade can be effective.
Hold the blade at an angle and carefully scrape the paint off the glass, taking care not to scratch the window. Remember to keep the blade and the window wet to avoid scratches.
Conclusion to Cleaning Storm Windows
Cleaning storm windows might not be the most glamorous task on your household to-do list, but it’s undeniably one of the most satisfying. There’s nothing like the sight of sunlight streaming through crystal clear windows, unhindered by dirt or grime.
Remember, it’s not just about aesthetics, either. Clean storm windows enhance natural light, improve your home’s energy efficiency, and extend the lifespan of your windows. It’s a small task with big rewards.


