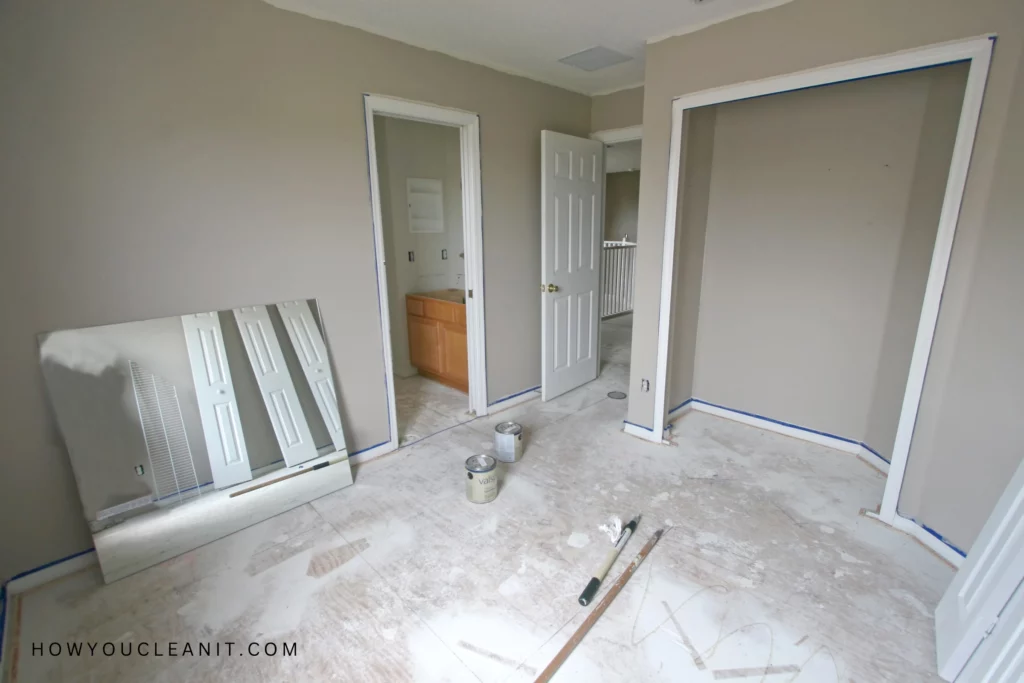
Best Way to Clean Up Construction Dust: From Prevention to Clean-up
This post may contain affiliate links or Google Ads and we may earn a small commission when you click on the links at no additional cost to you. As an Amazon Affiliate, we earn from qualifying purchases. This is at no additional cost to you and helps with our website expenses.
Finding the best way to clean up construction dust can seem like a daunting task, especially after a home renovation project.
It’s one of those details that no one tells you about when you’re planning a remodel or an addition.
But trust me, it’s a detail that matters. Big time.
The Uninvited Guest: Construction Dust
You’ve poured your heart and soul into creating that dream kitchen or expanding your living space. The construction is finally done. You’re thrilled!
But then you look around, and there it is. The unexpected guest: dust.
It’s in every nook and cranny, on your favorite armchair, even floating in the air. Suddenly, it feels like your newly renovated space is in a constant state of dusk.
The first thing you need to know is, the best way to clean up construction dust!
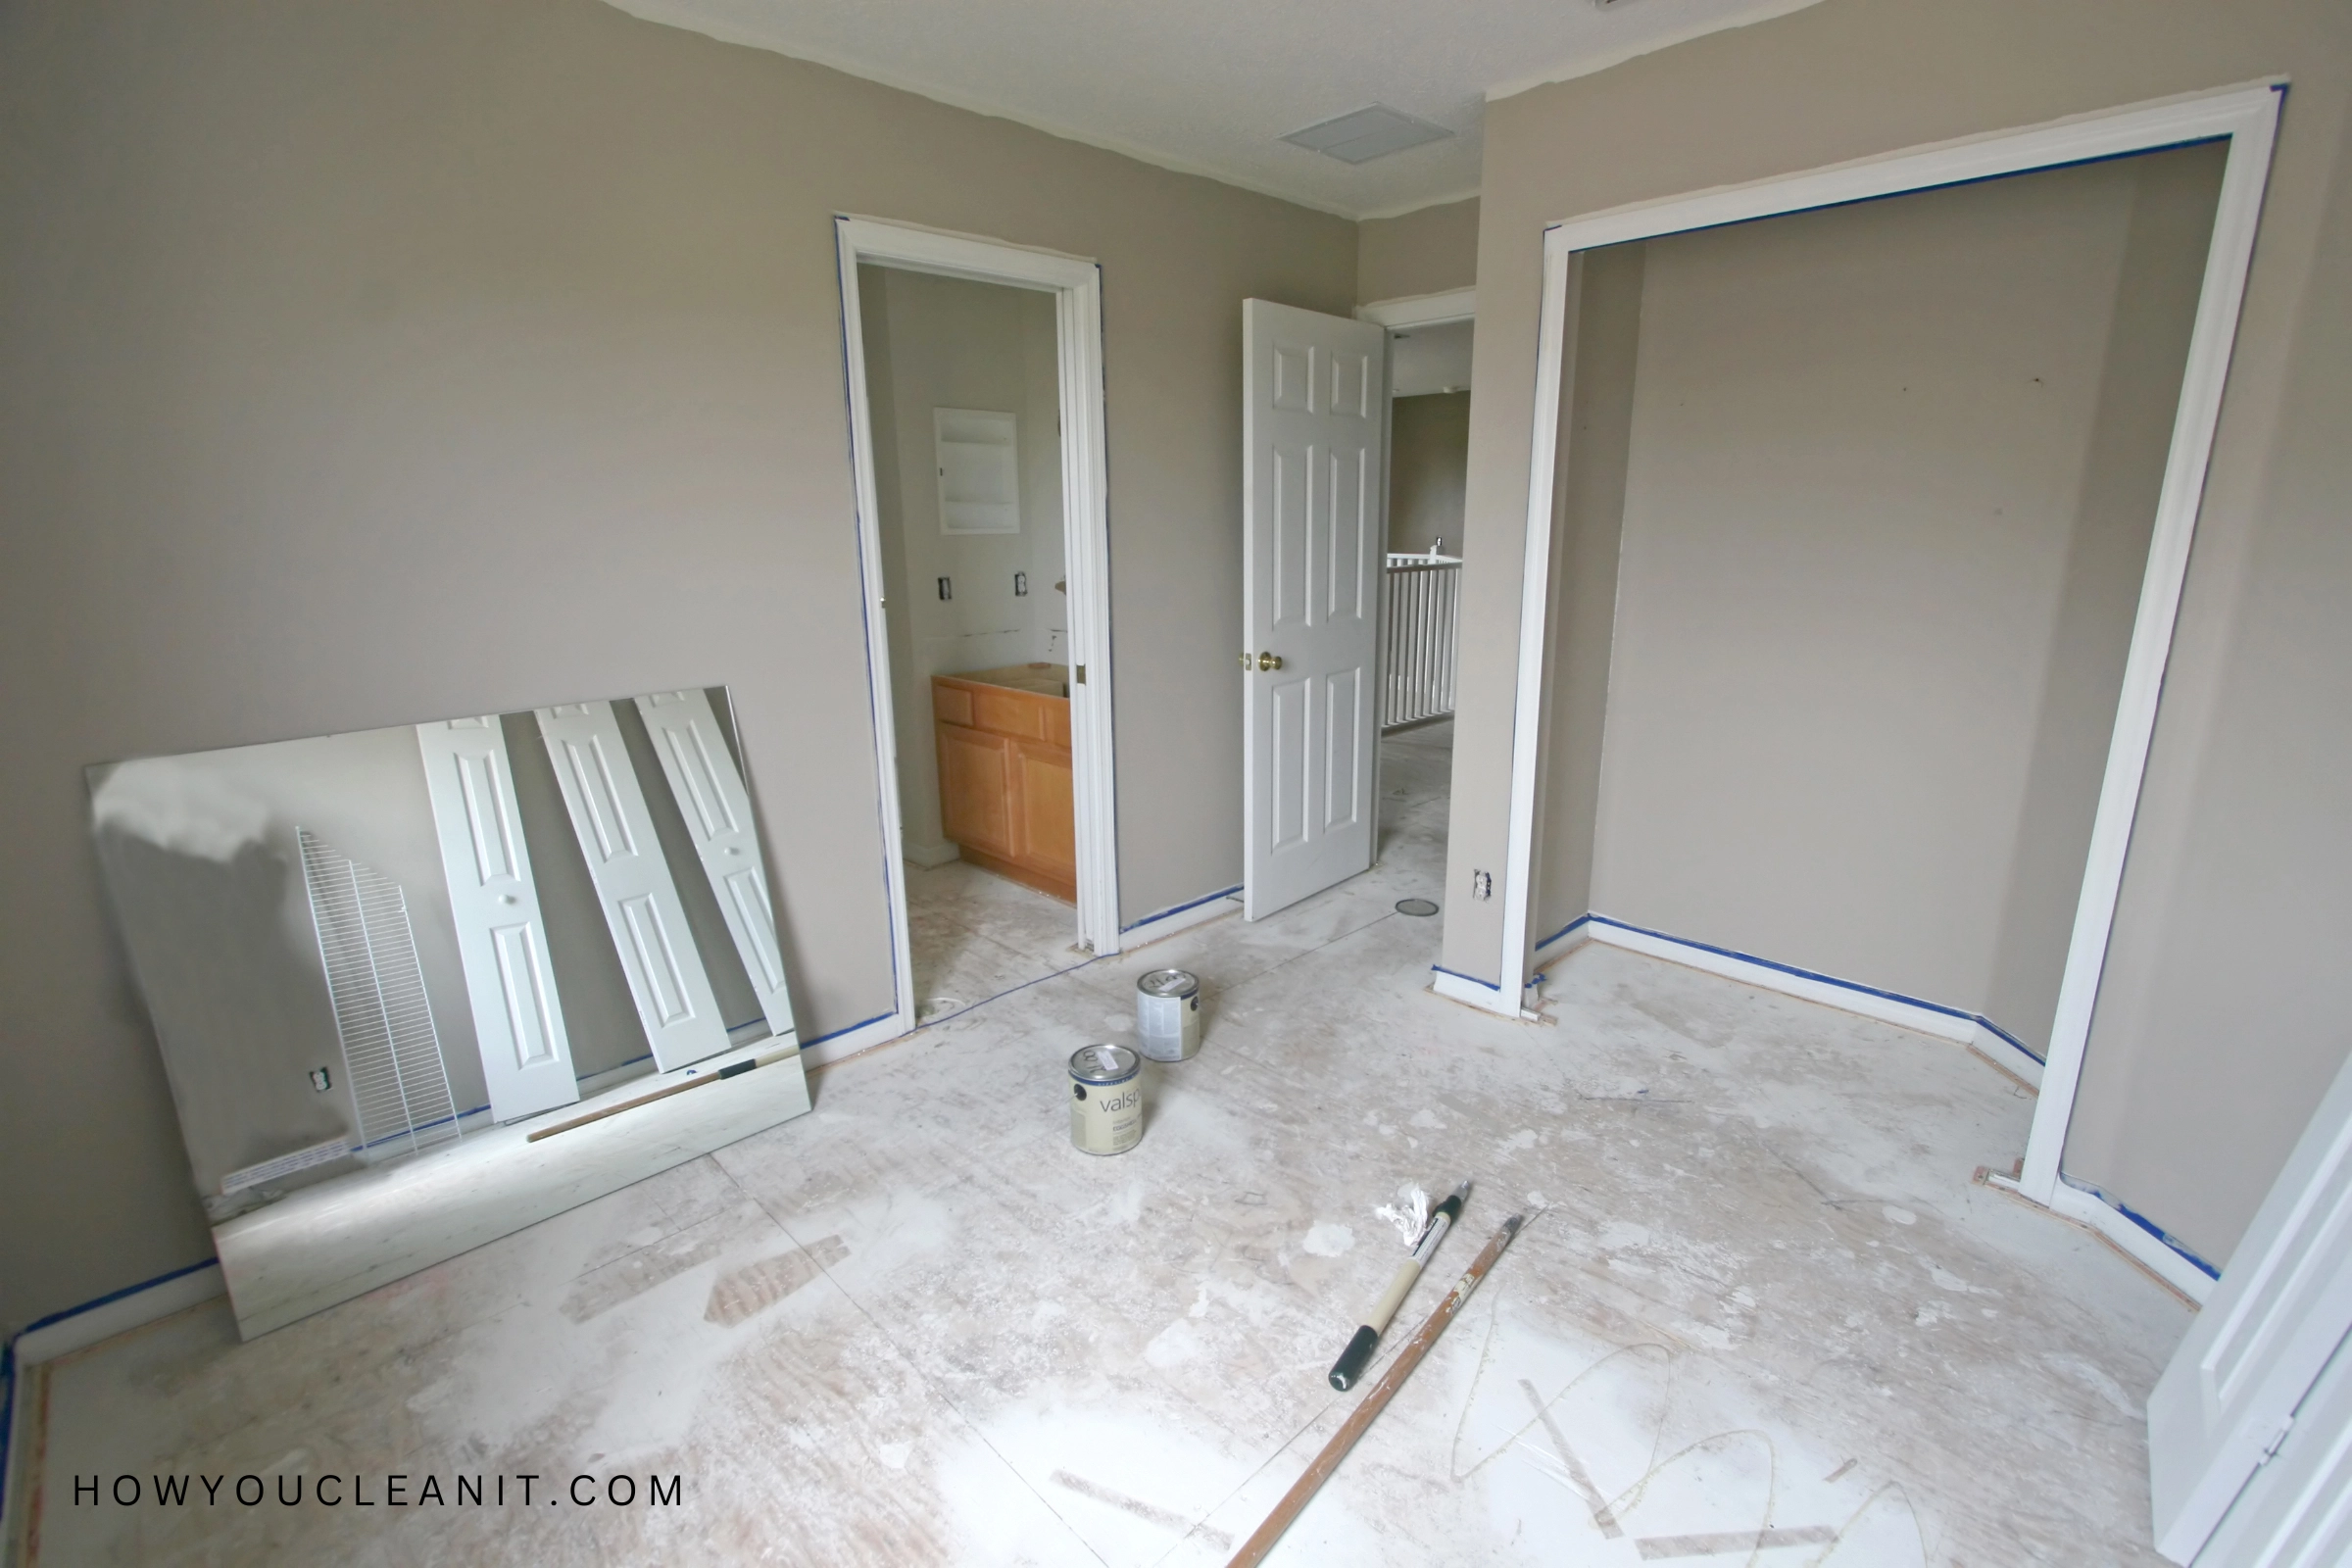
The Issue with Construction Dust
What is Construction Dust, Anyway?
Now, you might be wondering, what exactly is construction dust?
Well, it’s not just your everyday, run-of-the-mill dust. It’s a pesky mix of a variety of materials. Think particles from wood, drywall, concrete, and more. The types of particles can vary based on the specifics of your construction project.
When you’re remodeling or adding to your home, these materials get chopped, sawed, drilled, and sanded.
This process releases tiny particles that make up what we call construction dust. It’s finer than regular dust, which means it’s exceptionally good at getting everywhere – yes, everywhere!
The Trouble with Construction Dust at Home
Construction dust can be particularly troublesome in a home setting. Here’s why:
- It’s Invasive: It seeps into your furniture, carpets, and even your HVAC system. If you’ve just redone your kitchen, you might find dust in your drawers and cupboards too!
- It’s Stubborn: Due to its fine nature, it’s harder to clean than regular dust. A simple sweep of the broom won’t do the trick.
- It Lingers: If not cleaned thoroughly, construction dust can stick around for months, continually settling back down after being disturbed.
Why You Need to Know the Best Way to Clean Up Construction Dust
Health Risks of Construction Dust
The thing about construction dust is that it’s not just a nuisance. It can also pose health risks. Breathing in dust particles can lead to various respiratory issues, especially for those with asthma or allergies.
In severe cases, certain types of dust, like silica from concrete, can cause long-term health conditions.
The Importance of a Clean Living Space
Beyond the health concerns, there’s the simple fact that a clean living space is a more comfortable and enjoyable one. You want to be able to relax in your new space without a layer of dust on your furniture, or worse, in the air you breathe.
Cleaning up construction dust thoroughly ensures you can enjoy your renovated home to the fullest.
Plus, it saves you the ongoing hassle of finding dust in unexpected places weeks, or even months, after the work is done.
Essential Tools for Cleaning Construction Dust at Home
The Right Gear for the Job
Once the renovation is done, it’s time to tackle the construction dust. To do this effectively, you’ll need some essential tools. Here are our top recommendations:
- HEPA Filter Vacuum: This is a must-have. HEPA (High-Efficiency Particulate Air) vacuums can capture tiny dust particles that regular vacuums may miss.
- Dust Mop: A good dust mop can help clean dust from hard-to-reach places, like your ceiling and light fixtures.
- Microfiber Cloths: These cloths are excellent for capturing dust and can be used on a variety of surfaces. They’re washable too, which makes them environmentally friendly!
- Protective Gear: Don’t forget about protecting yourself during the cleanup. A good dust mask or respirator, safety glasses, and gloves are essential to keep you safe from dust exposure.
Your Step-by-Step Guide to a Dust-Free Home
Conquering Construction Dust Room by Room
Cleaning up construction dust might seem overwhelming, but don’t worry. We’ve broken it down into manageable steps for you. Let’s tackle this together!
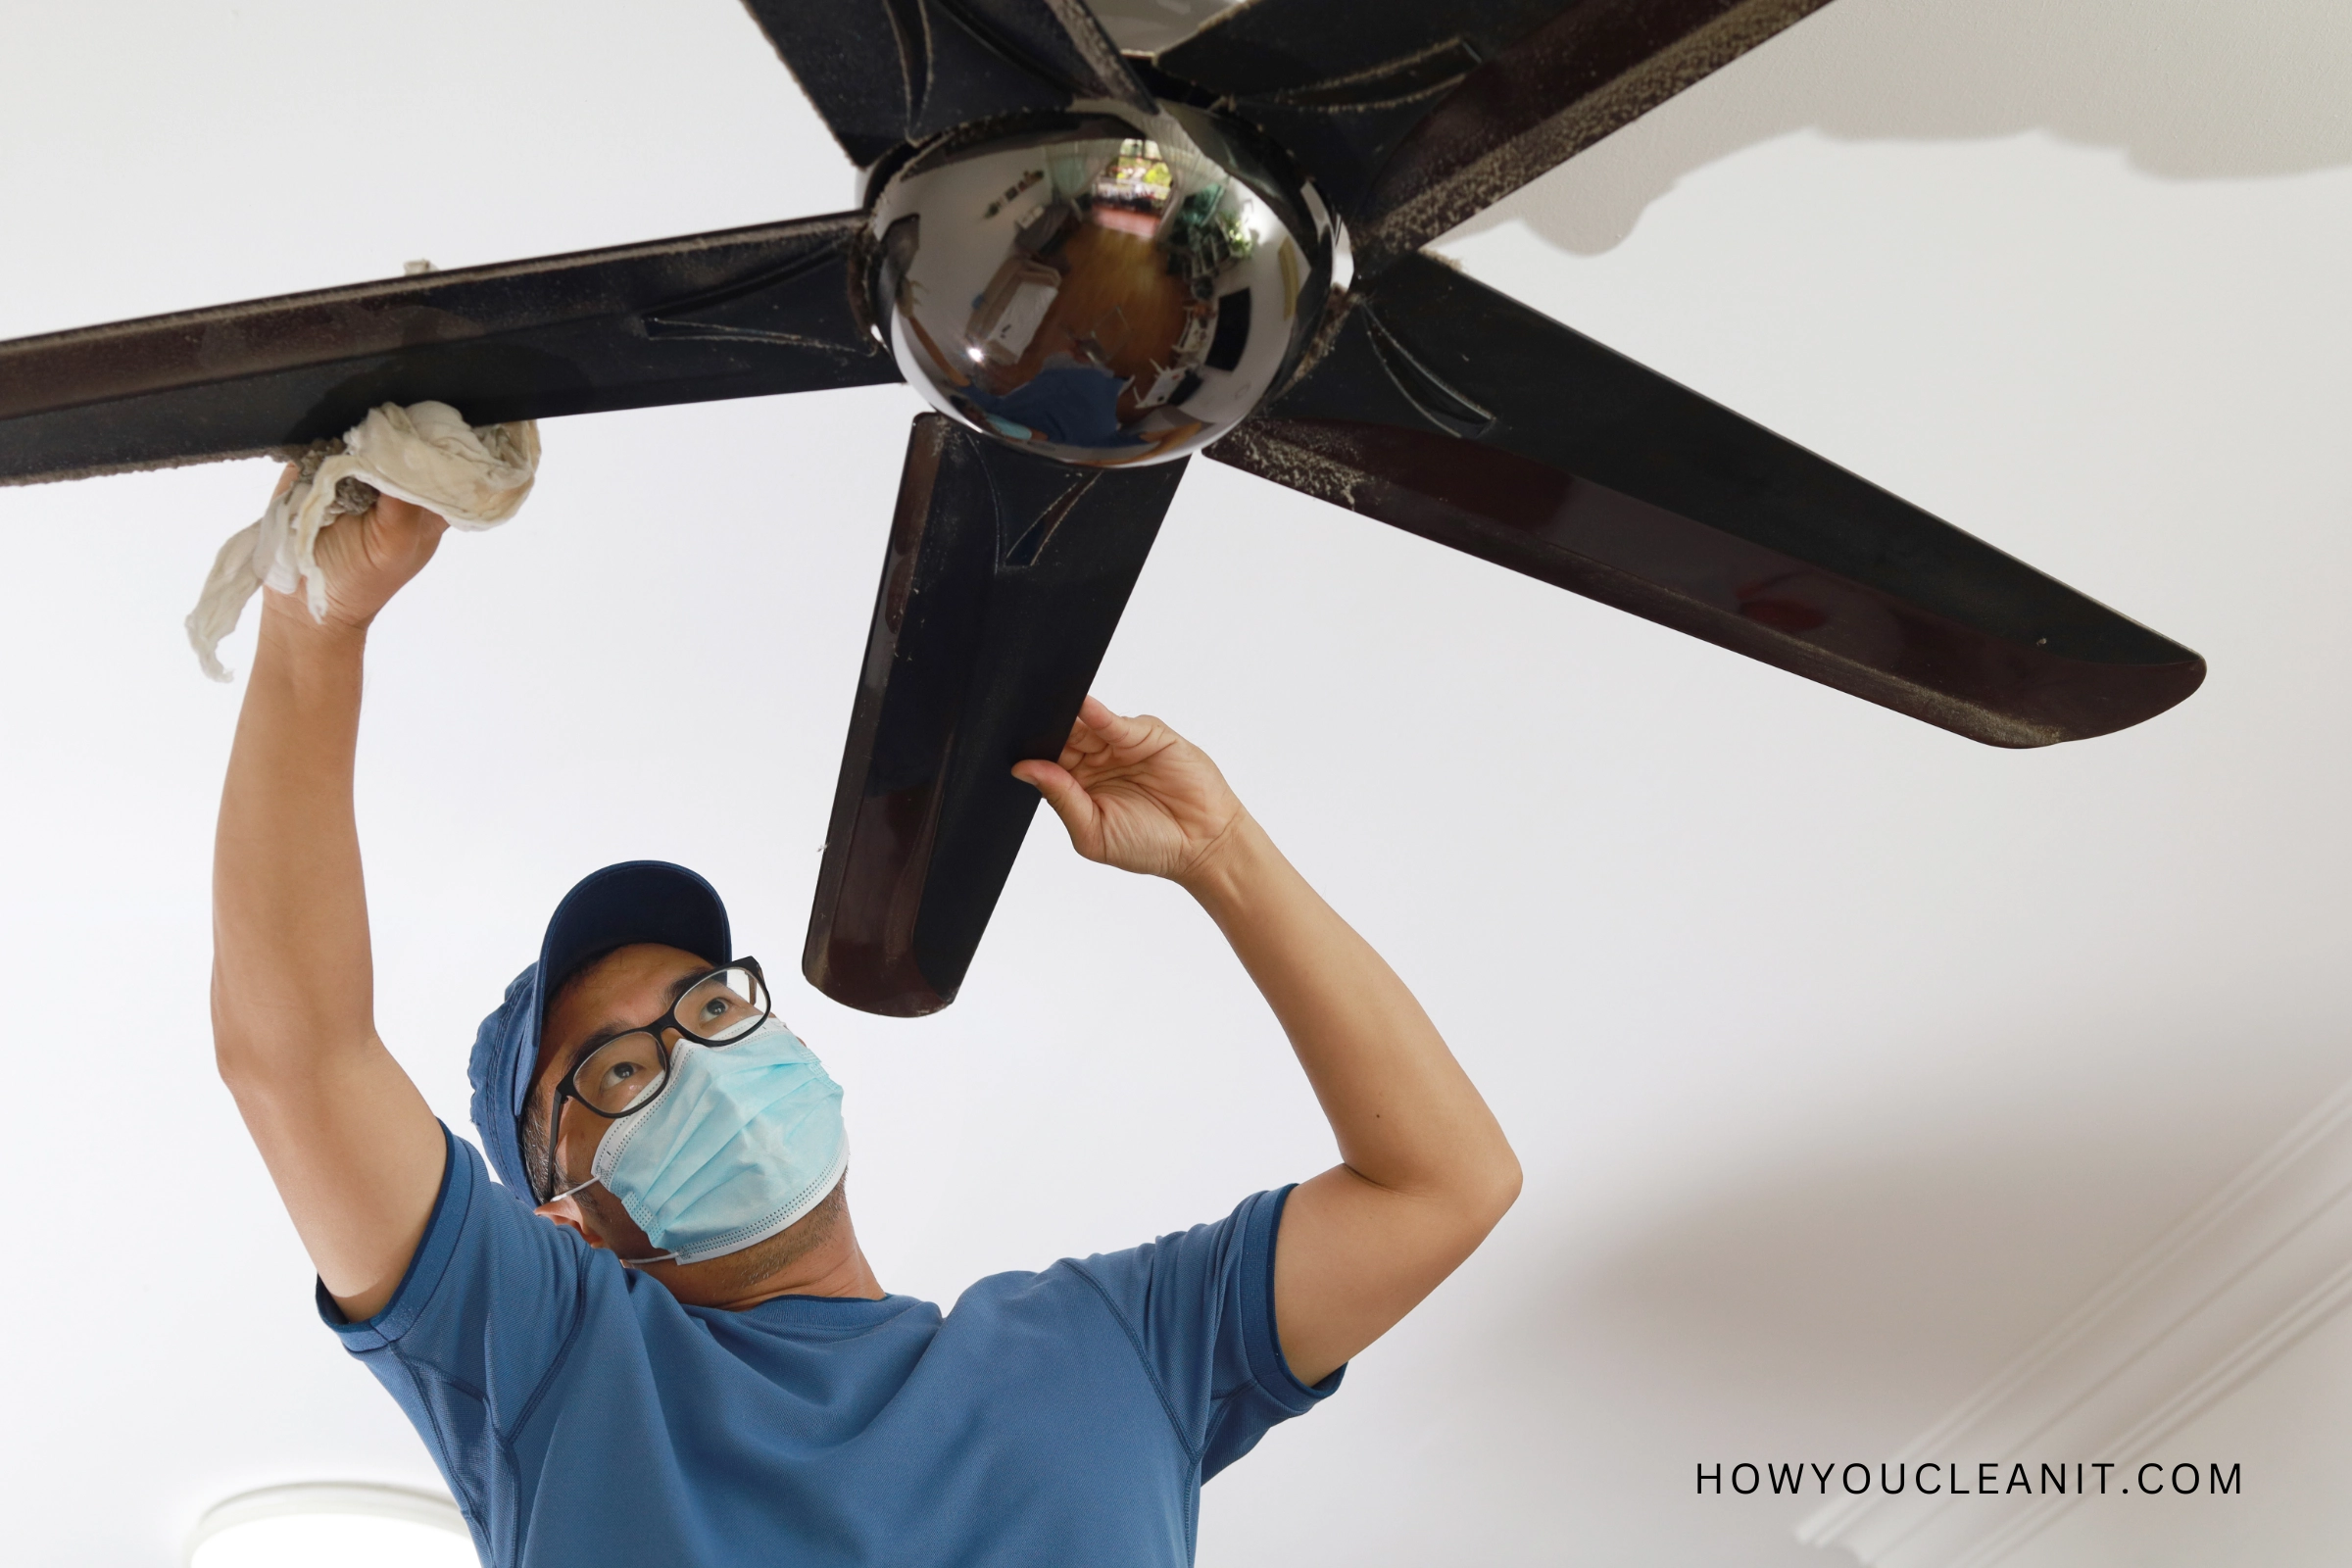
- Start with Personal Protection: Before you begin cleaning, remember to wear your protective gear: a dust mask or respirator, safety glasses, and gloves.
- Ventilation First: Open up windows and doors to help ventilate the space. This will allow some dust particles to naturally disperse and decrease the amount of dust you’re breathing in while cleaning.
- Start from the Top: Always clean from top to bottom. Start with ceilings, fans, and light fixtures, then move on to walls, furniture, and lastly, floors.
- Ceilings and Light Fixtures: Use a dust mop or a vacuum cleaner with a long attachment to remove dust from ceilings and light fixtures.
- Walls: Use a microfiber cloth or a damp cloth to wipe down walls gently. Be careful if your walls have been recently painted. Test a small, hidden area first to make sure the paint won’t come off.
- Furniture: Wipe furniture with a damp microfiber cloth. Remember to clean under cushions and in crevices where dust may have settled.
- Floors: First, vacuum the floors using a HEPA vacuum. Once you’ve vacuumed, mop hard floors with a damp mop.
- Air Vents: Don’t forget about your HVAC system. Dust often collects in air vents and can spread throughout your home if not cleaned. Remove vent covers and vacuum inside using a brush attachment.
- Follow Up: Repeat these steps as necessary until the dust is gone. It might take a few rounds of cleaning for a completely dust-free home.
Preventive Measures for Dust Reduction
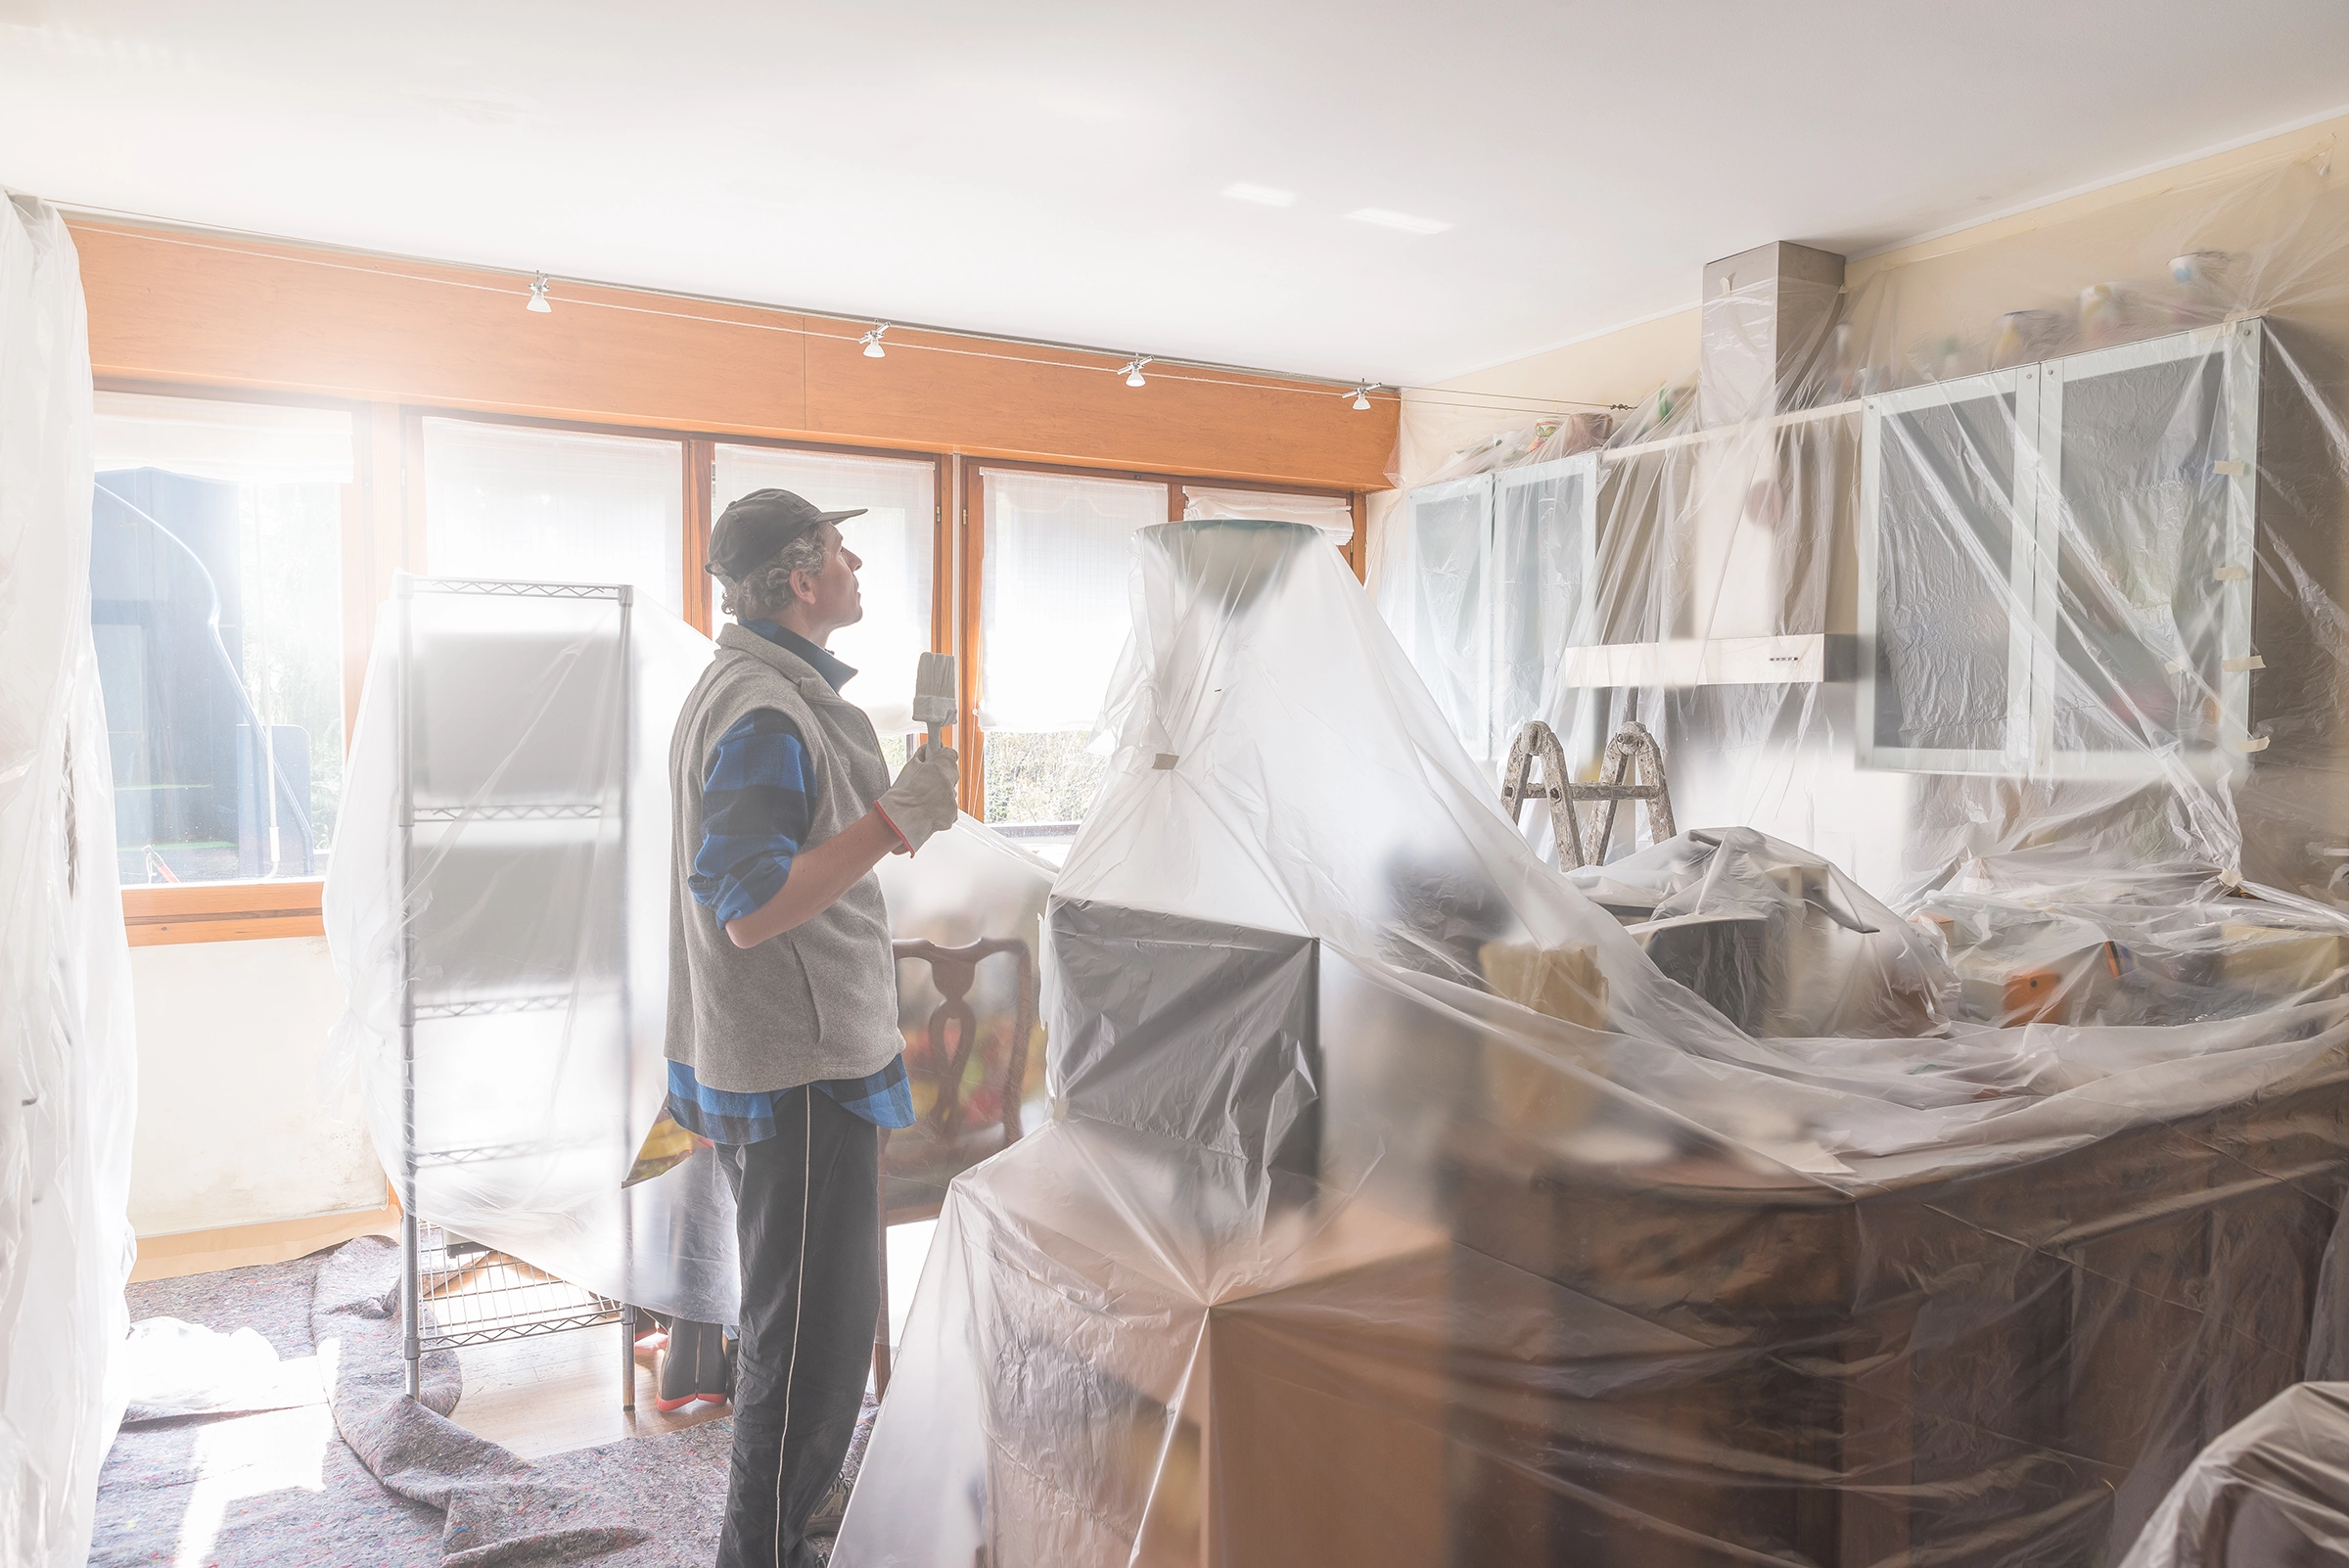
Planning Ahead: Minimizing Dust During Home Renovations
While completely preventing dust during construction isn’t possible, you can certainly minimize it. Here are a few strategies you can use to keep dust at bay during your home renovation projects:
- Seal Off the Area: Use plastic sheets and painter’s tape to seal off the construction area from the rest of your home. This includes doors, air vents, and even small gaps.
- Ventilation Control: Ensure your workspace is well-ventilated, but avoid using your home’s HVAC system as it can spread dust throughout your home.
- Regular Clean-Up: Schedule regular clean-up sessions during the construction process. It may seem like extra work, but trust me, it’s easier to clean a little each day than to deal with a mountain of dust at the end.
When to Consider Professional Help – Know When to Call in the Pros
Even with the best cleaning efforts, sometimes construction dust can be especially stubborn. Or perhaps, the scope of the project and the amount of dust is just too overwhelming. In these instances, it may be necessary to call in professional cleaning services.
Here are some signs that it might be time to consider professional help:
- Persistent Dust: If you’ve followed the steps above several times and still find dust settling, it may be time for a professional cleaning service.
- Health Concerns: If anyone in your home is experiencing health issues like breathing difficulties, persistent cough, or allergies despite your best cleaning efforts, consider calling the pros.
- Large-Scale Renovations: If your project involved major construction or materials that generate harmful dust (like asbestos or lead), it’s safer to let professionals handle the cleanup.
Remember, there’s no shame in seeking professional help. Ensuring a safe and clean living environment is the ultimate goal, after all!
Wrapping Up the Best Way to Clean Up Construction Dust
Cleaning up construction dust might be the last thing you want to deal with after a renovation project. But with these strategies and steps, you can tackle the process confidently.
Remember, patience is key. And in the end, you’ll be rewarded with a clean, comfortable, and dust-free home.

